Yoga for Back Pain Relief: 10 Poses to Try at Home
Why Your Back Pain Might Not Be a Back Problem
If you have ever dealt with chronic back pain, you know how frustrating it can be. It is easy to feel defeated or even angry with your body. But I want to offer you a different perspective: your pain is simply your body trying to talk to you, letting you know that there are imbalances that need to be addressed.

When we experience back pain—especially in the lower back—our first instinct is usually to stretch it out. However, as a yoga teacher, I often see students overstretching tight muscles, which can actually cause them to contract and tighten even more.
This happens because our muscles don’t work in isolation; they are all connected in a kinetic chain.
Back pain can be a hip, glute, or even a foot problem! If your feet are weak, your hips are locked up, or your glutes stop supporting you properly, your low back and upper body have to work twice as hard just to keep you upright and functioning.
To find real, lasting relief, we have to look at the whole body. We need a balanced approach that combines both strengthening weak areas to support the spine, AND stretching tight areas to release tension.
Here is a breakdown of the 11 poses I recommend, what they look like, and how they help your back.
Strengthening Poses
Before we release, we must stabilize. Strengthening the legs, feet, and glutes takes the pressure off the lower back.
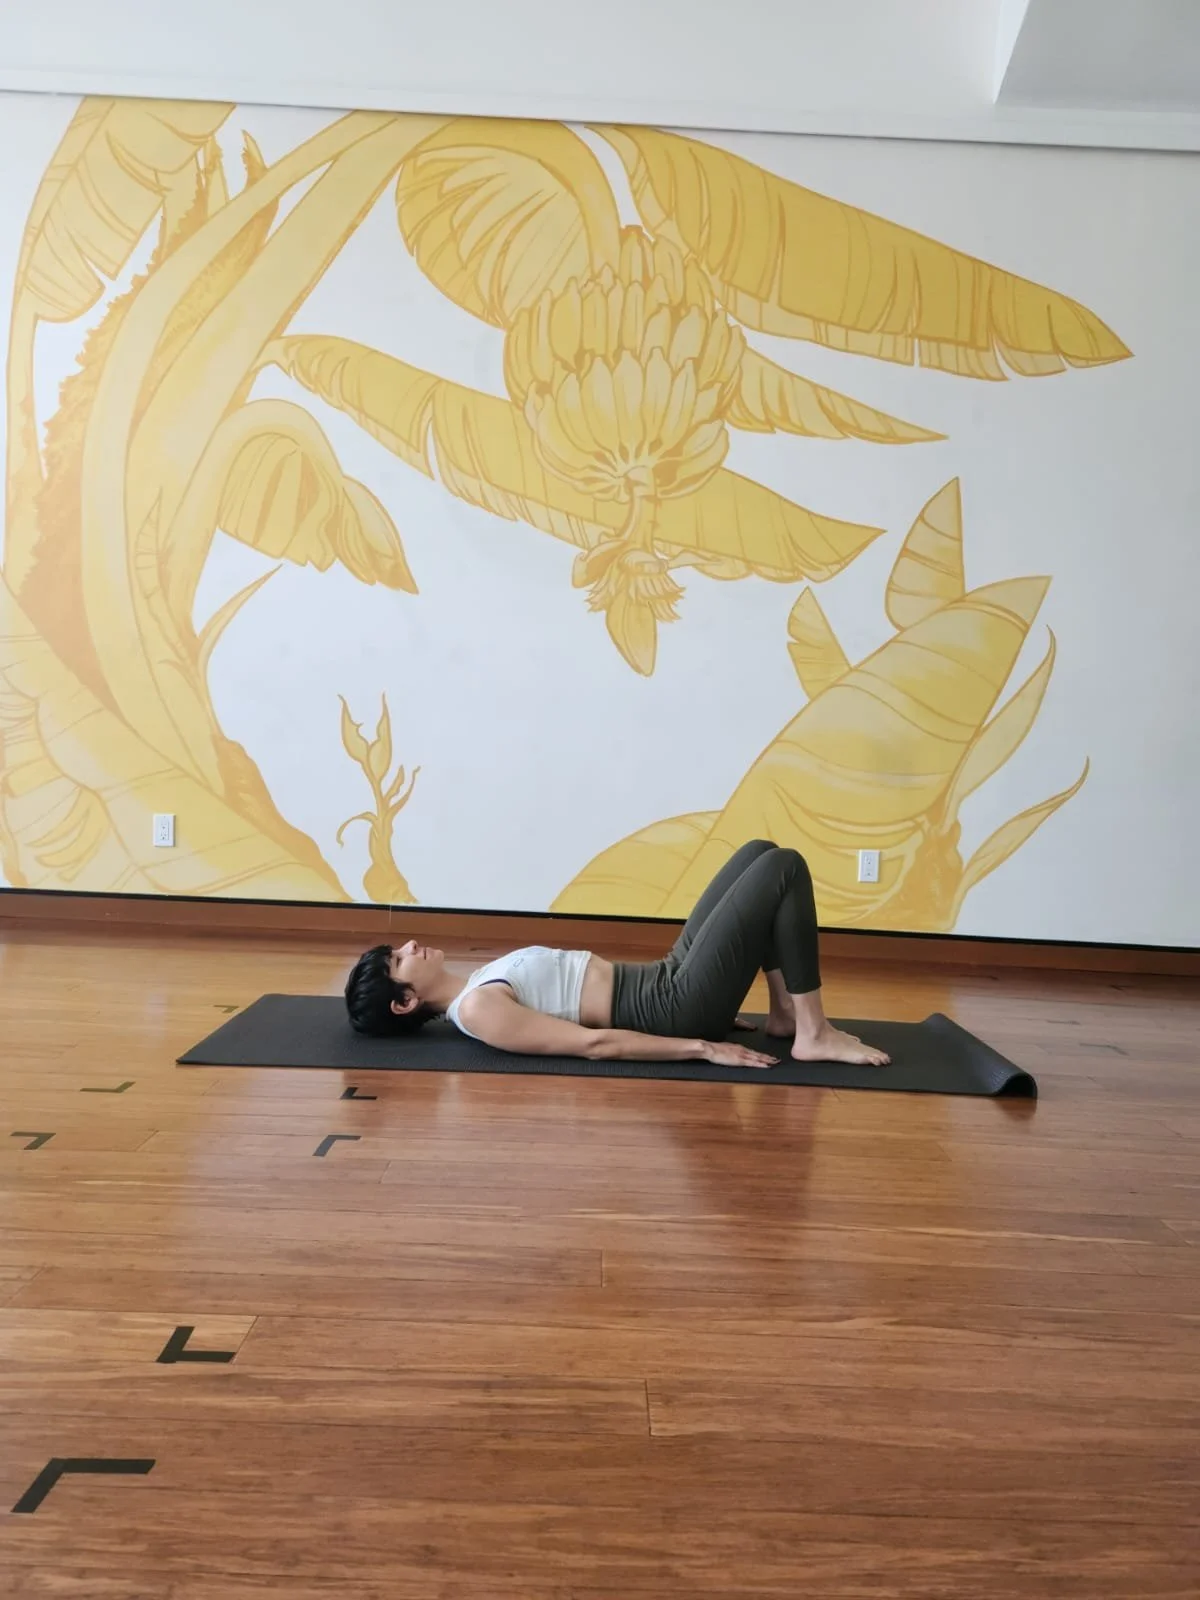
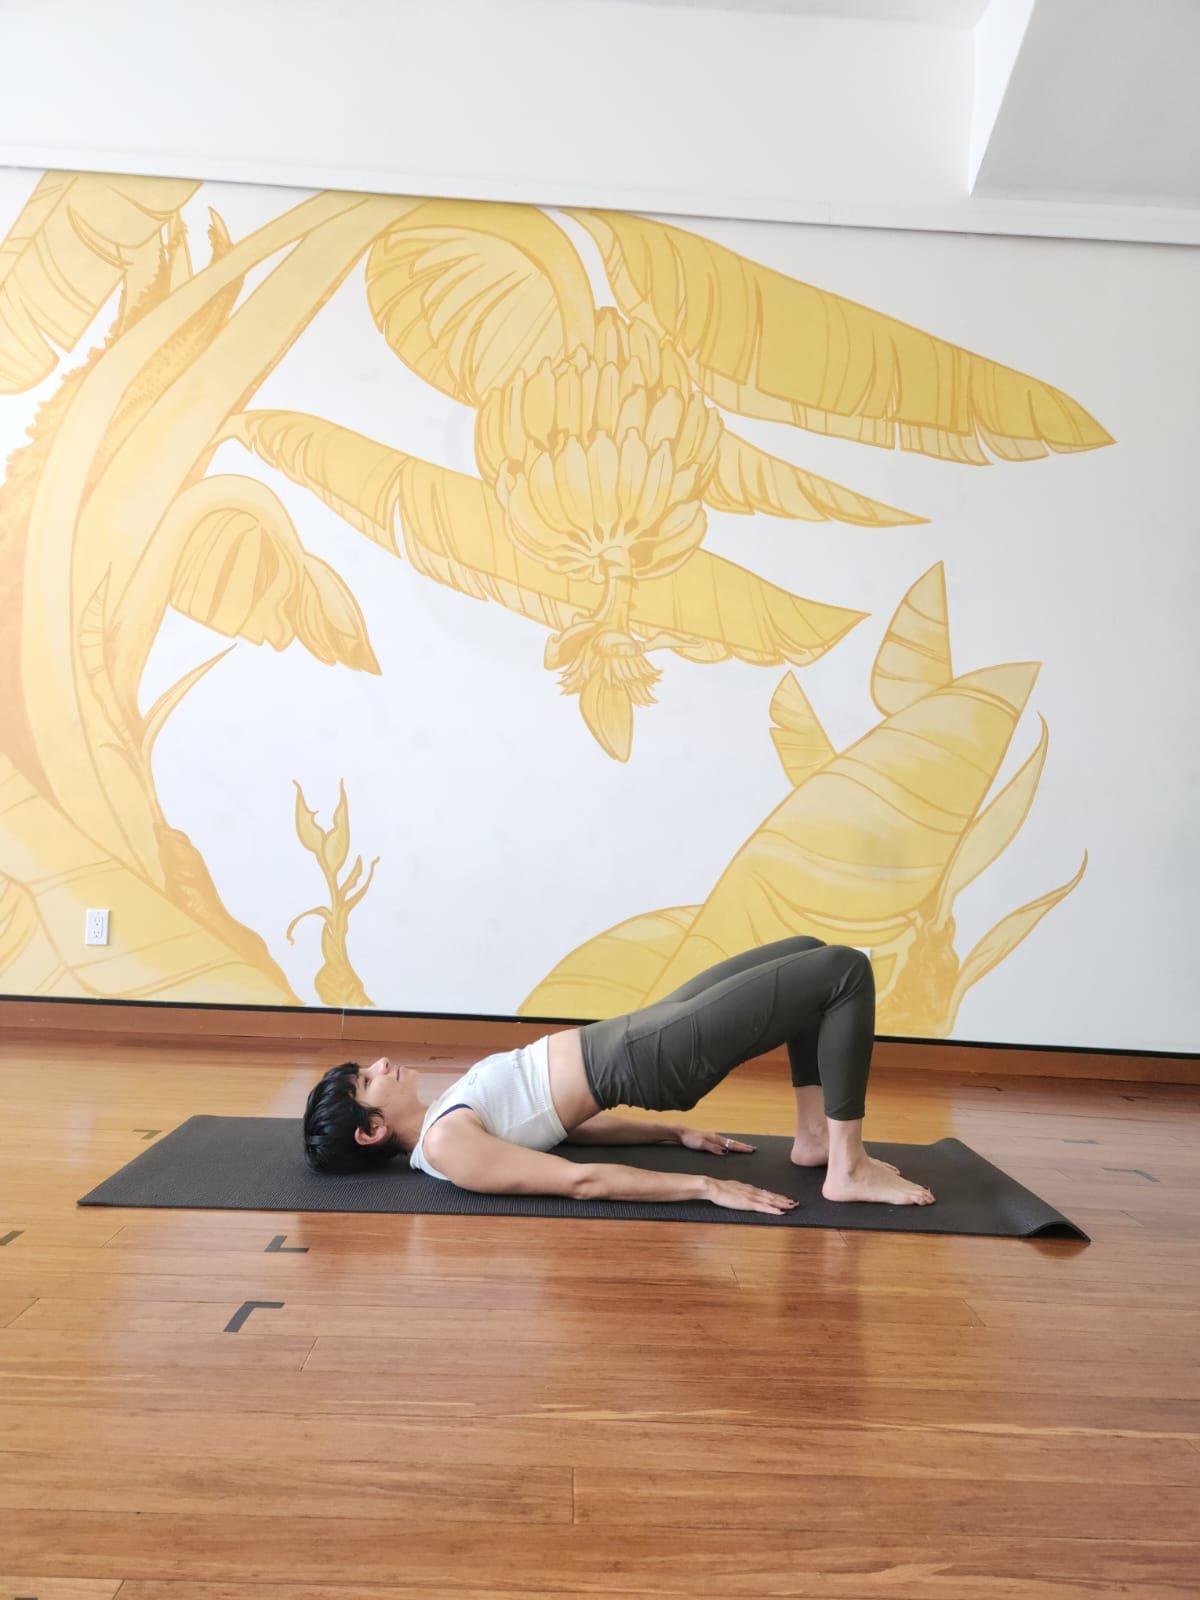
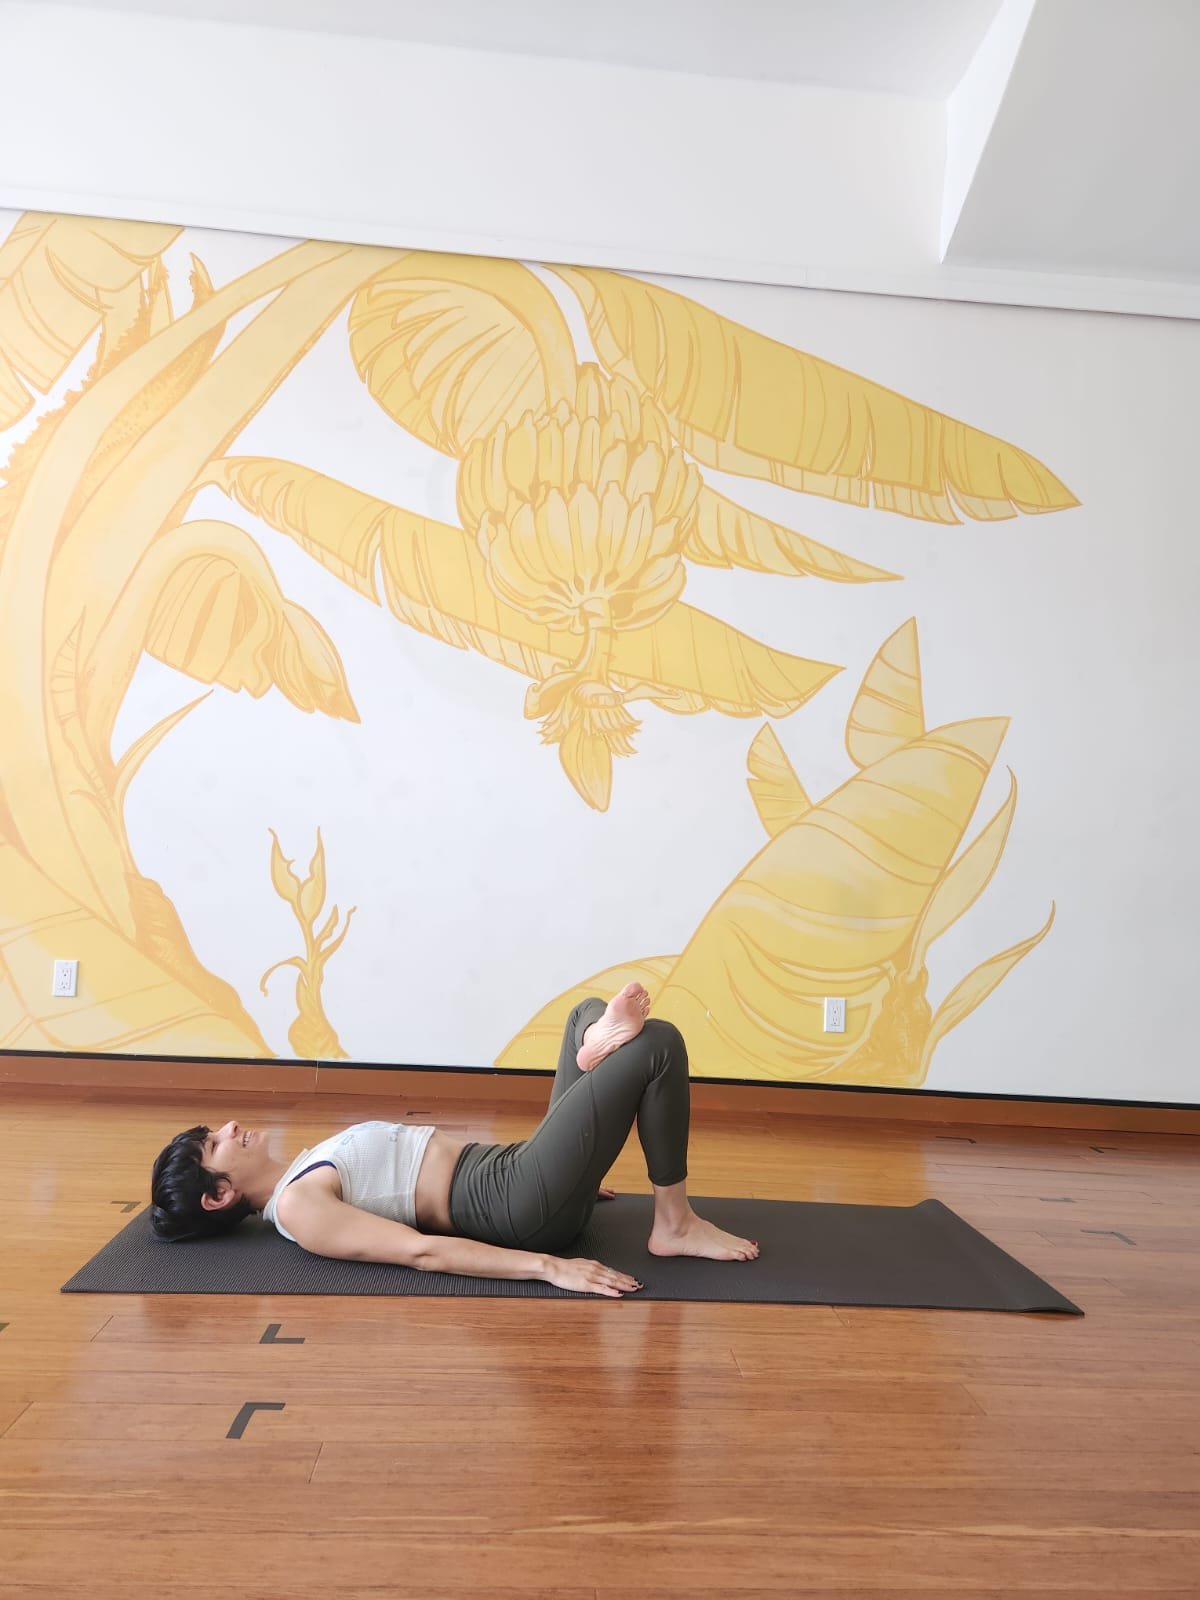
1. Active Glute Bridges
How to do it: Lie on your back with your knees bent and feet flat on the floor, hip-width apart. Press firmly into your feet, engage your core, and slowly lift your hips toward the ceiling. Lower back down with absolute control. Repeat 3-5 times
Why it works: This active movement wakes up the glutes and engages the psoas, forcing the lower back muscles to stop overcompensating for a sleepy posterior chain.

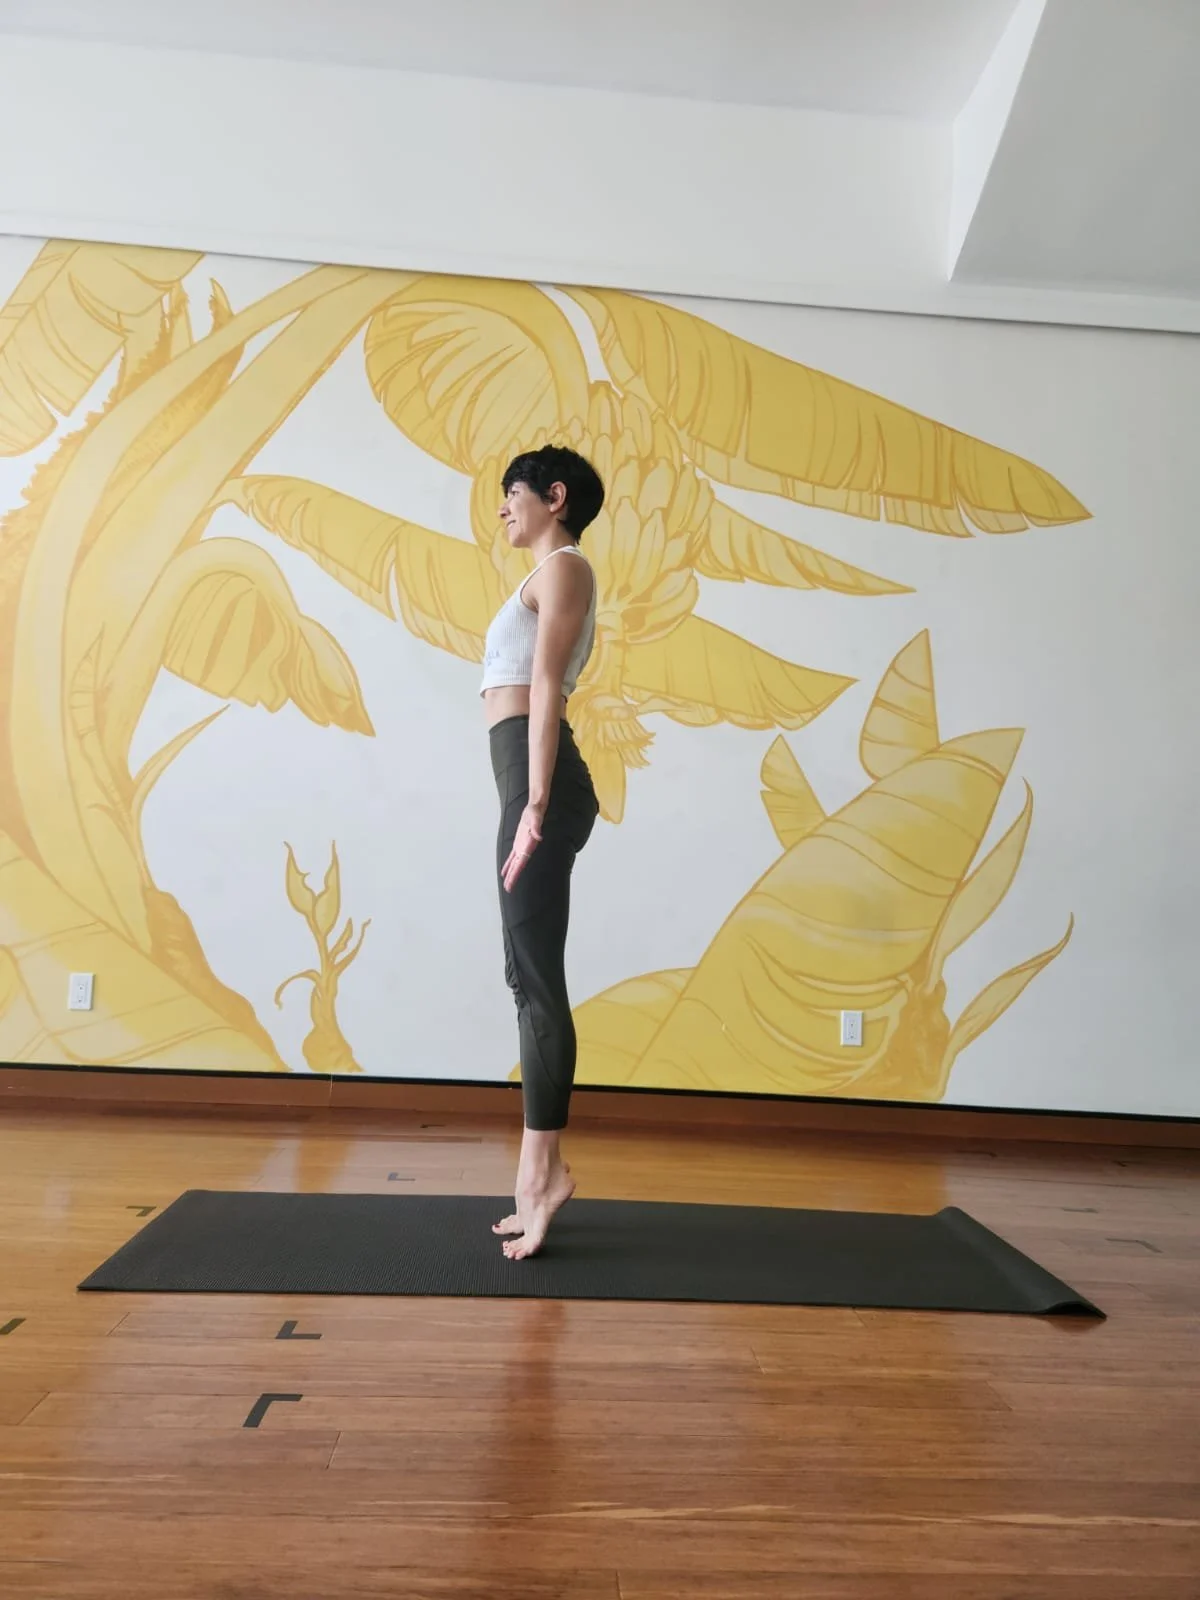
2. Heel Lifts
How to do it: Stand tall with your feet hip-width apart. Slowly press into the balls of your feet to lift your heels high off the ground, balance for a moment, and then slowly lower them back down. Repeat 5 times
Why it works: Healing your back starts all the way down at the foundation. Weak feet cause a domino effect up the leg chain. Heel lifts build ankle and arch stability, creating a solid base for your posture.

3. Low Lunge
How to do it: From a tabletop or downward dog, step one foot forward between your hands and lower your back knee softly to the mat, sliding it back until you feel a gentle stretch. Lift your torso upright. Hold for 1 minute
Why it works: This pose is fabulous for simultaneously strengthening while lengthening. Firing up the glute on the back leg naturally allows the front hip flexor to open up safely, relieving tension that pulls on the pelvis.
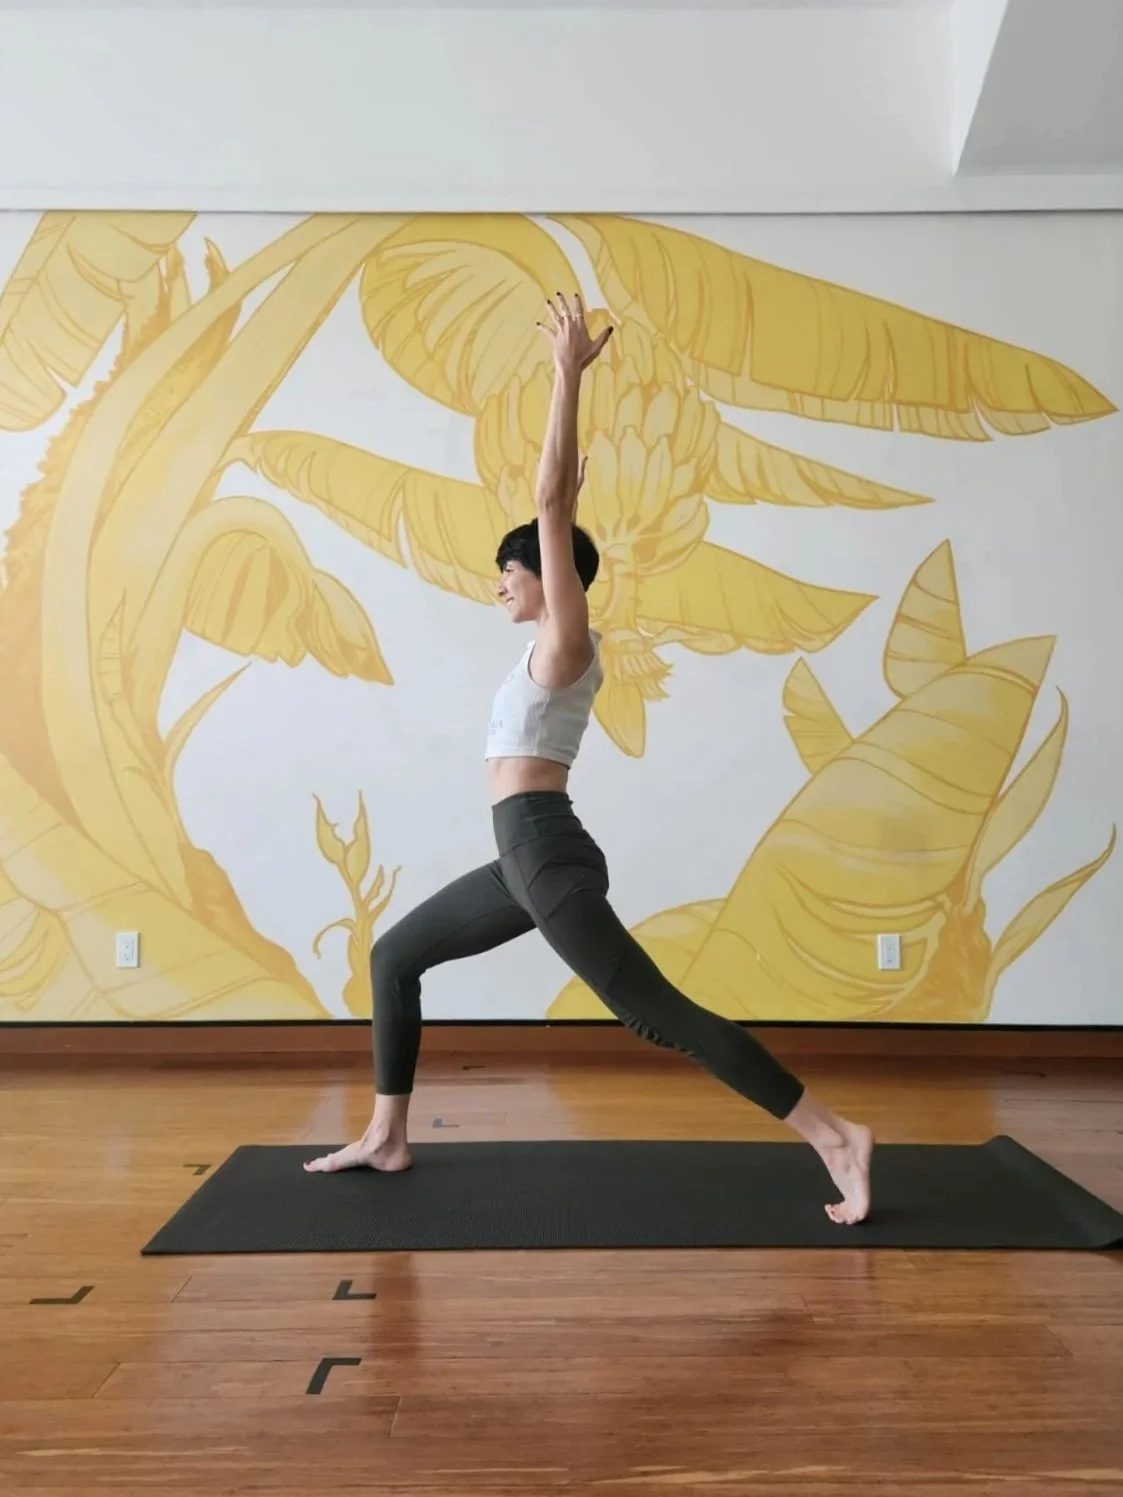
4. High Lunge
How to do it: Similar to a low lunge, but you will lift your back knee off the floor, straightening the back leg completely while keeping the front knee bent at a 90-degree angle. Reach your arms toward the sky. Hold for 30 seconds to 1 minute
It often helps starting this pose with a low lunge, tucking your back toes and then lifting your knee before raising your arms.
Why it works: This builds deep stability in the legs by activating the glute and hamstring, and strengthens core.
The Key Cue: Activate your back glute. Squeezing that back glute supports the lower back and extends the hip opening to a deeper level.

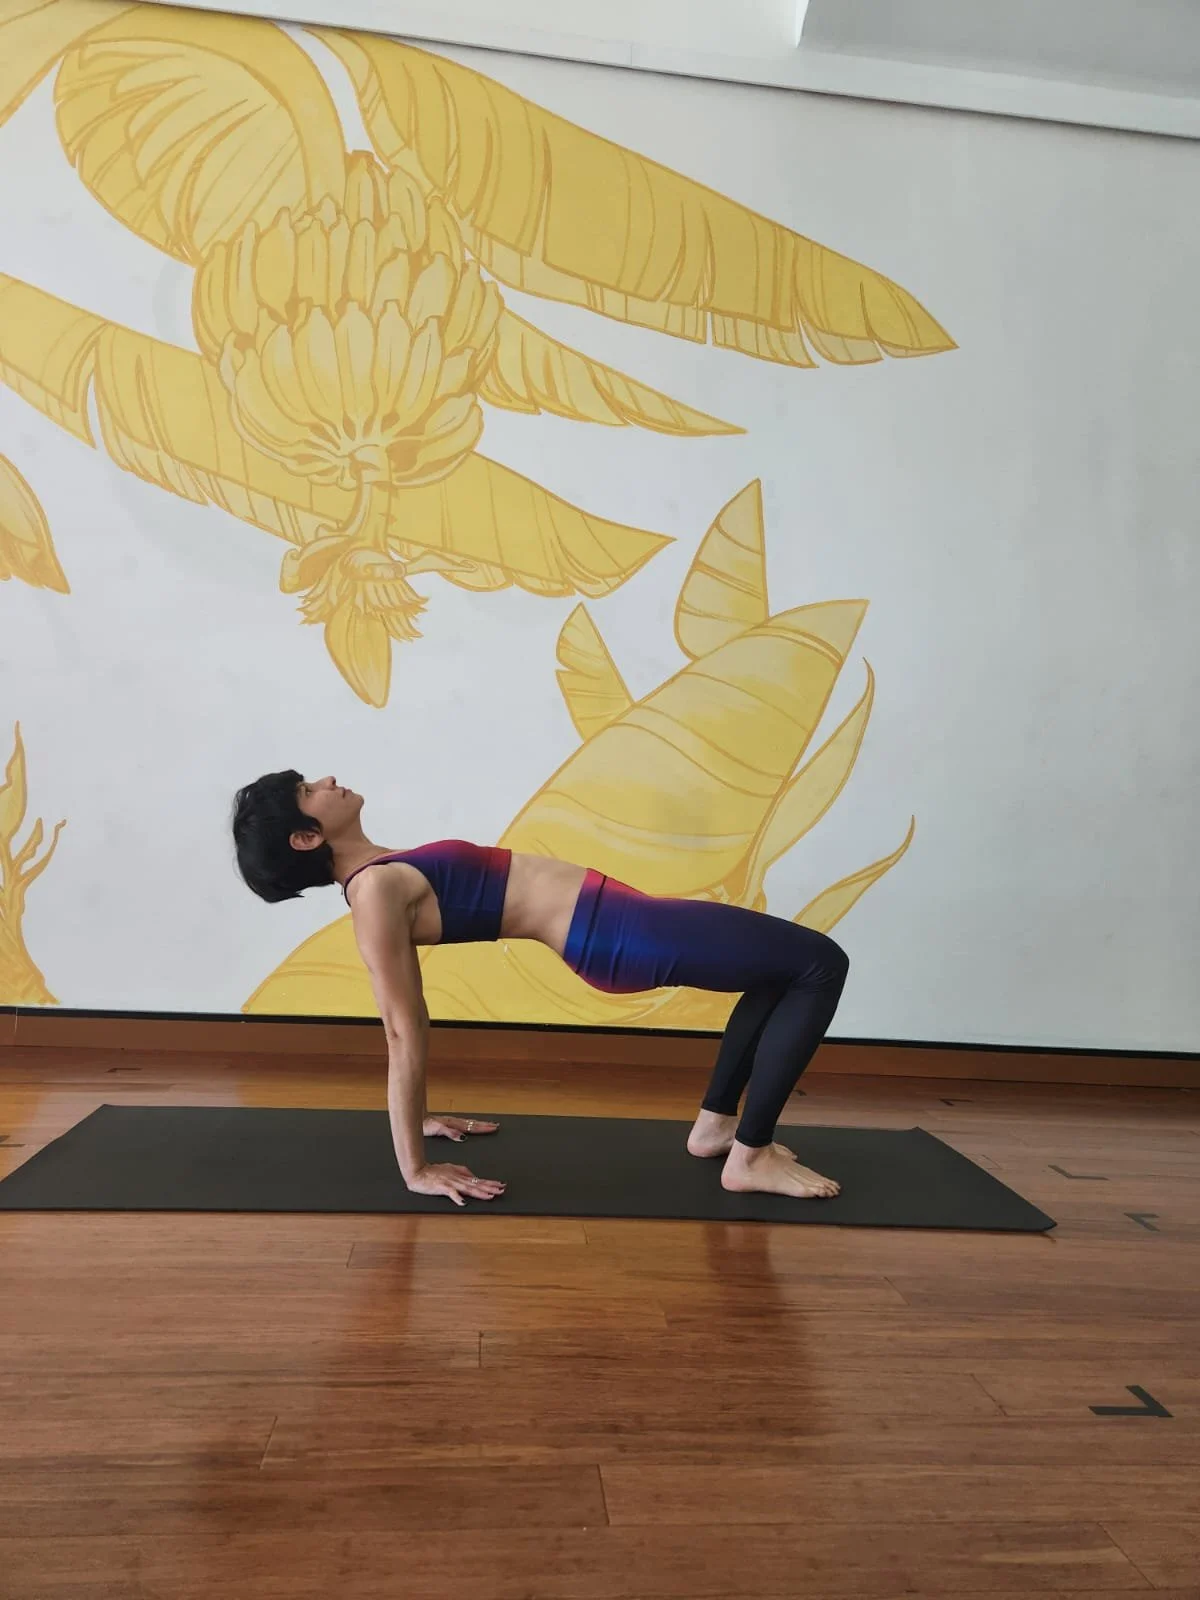
5. Reverse Table Top
How to do it: Sit with your knees bent and feet in front of you. Place your hands a few inches behind your hips with your fingers pointing toward your toes. Press into your hands and heels to lift your hips high, creating a straight line from your head to your heels. Hold for 5-10 breaths, repeat twice
Why it works: This pose strengthens the entire posterior chain—your hamstrings, glutes, and back muscles—teaching them to fire together to support the spine.
It also helps strengthen the rhomboids, the muscles behind your shoulder blades that help keep your shoulder from rounding forward.
Stretching Poses
Now that the supporting muscles are awake and doing their job, we can safely open up the areas holding onto tension.
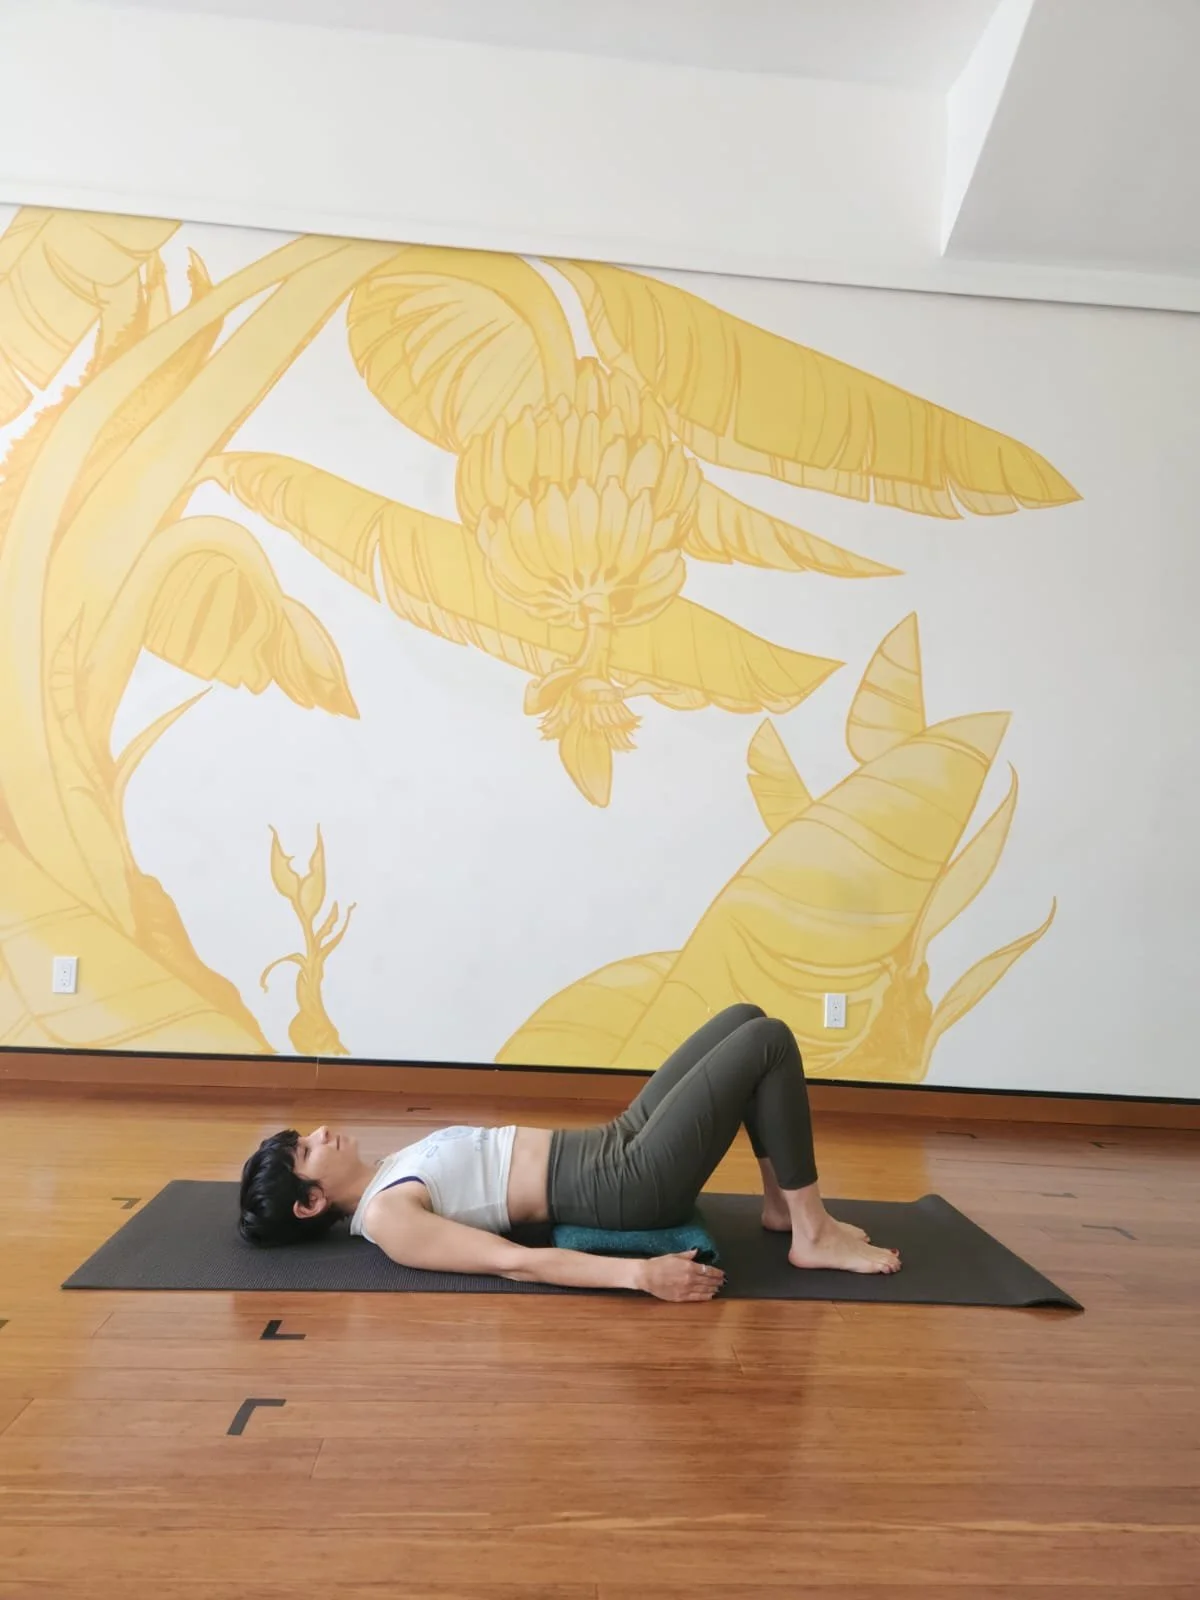
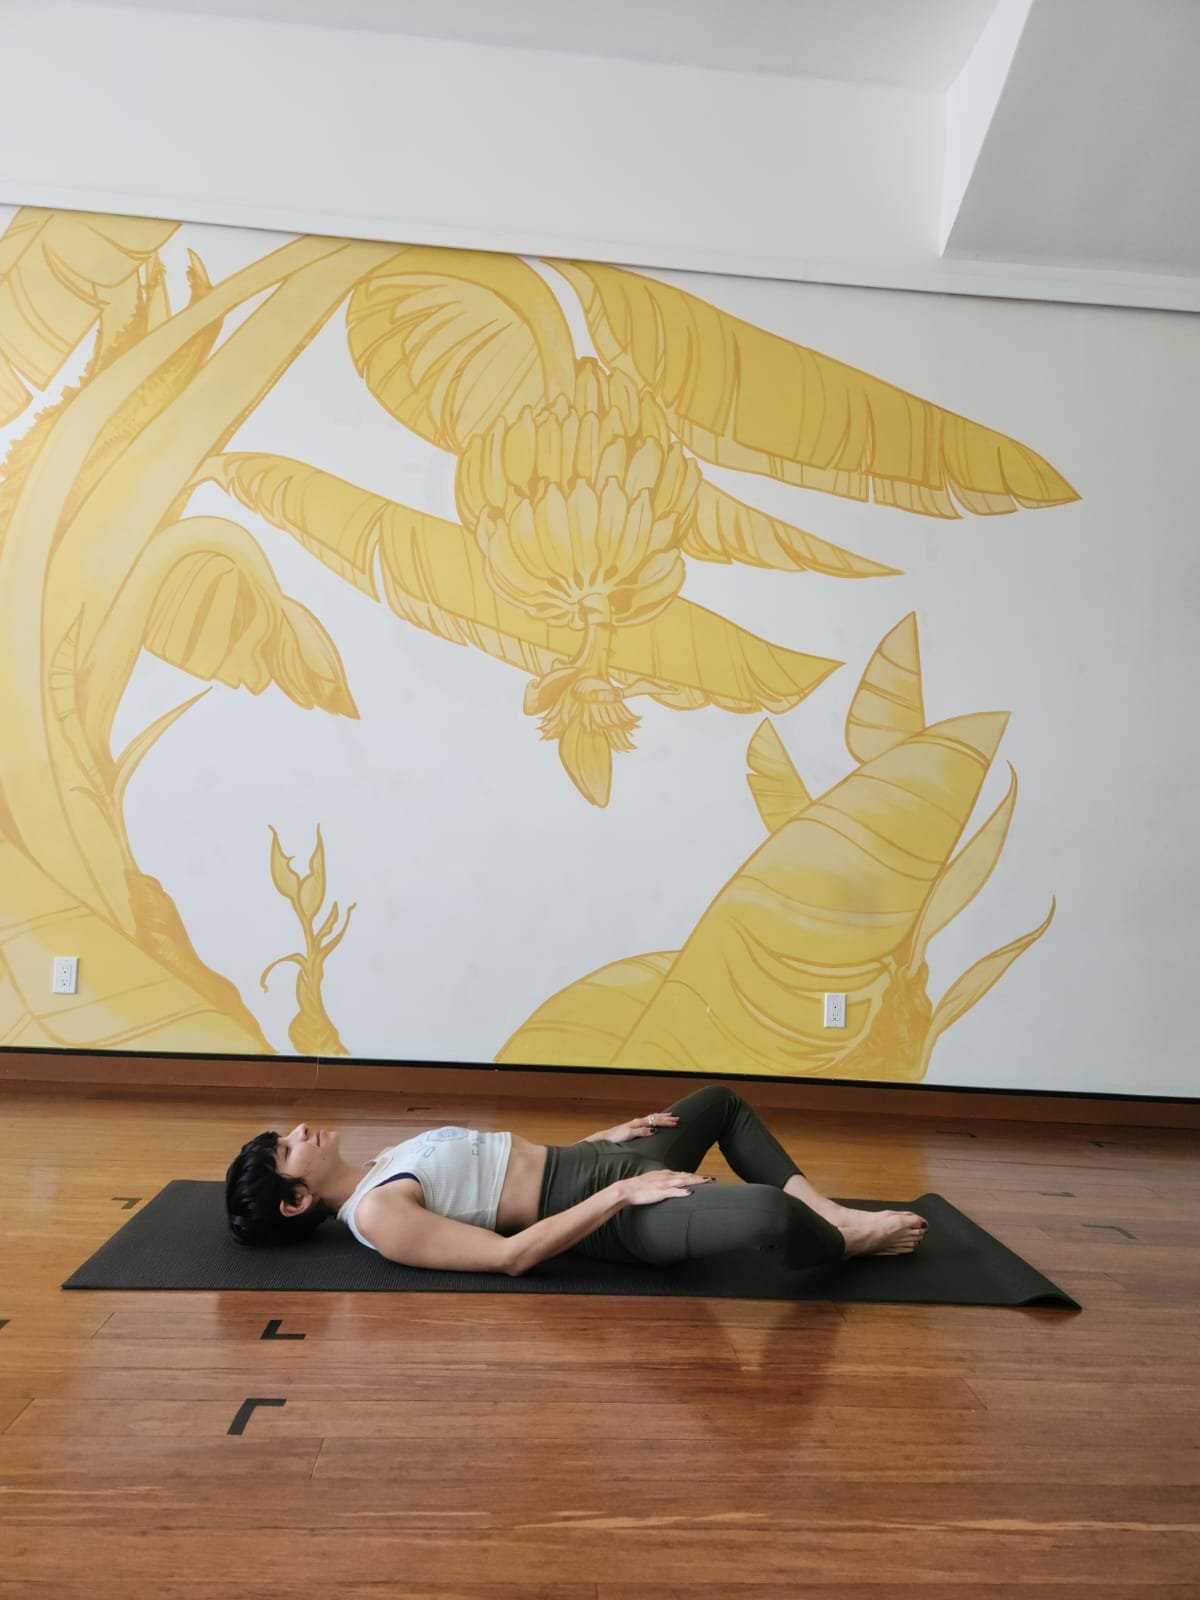
10. Restorative Bridge Pose
How to do it: Lie on your back with your knees bent and feet flat. Lift your hips just high enough to slide a yoga block or firm pillow right underneath your sacrum (the flat bone at the base of your spine), and rest your weight completely onto it. 2-3 minutes
Why it works: Unlike the active version, this allows your psoas and hips to completely relax and release.
Teacher Note on the Psoas: The psoas connects your legs directly to your lower back, wrapping around the hips. Because we sit so much, this muscle shrinks and tightens. When it's chronically short, it literally yanks on your lower back. A supported bridge is the ultimate antidote to a desk job.

6. Seated Twists
How to do it: Sit comfortably with your legs extended, or lift one leg over your other to plant your foot outside the opposite leg. If you planted your foot and your knee is bent, use the same side hand to support your low back on the mat behind you.
Lift your other hand up and place over your bent knee, or place your hand on the outside of your thigh if your leg is extended,
Teachers Note: be careful not to twist too far, only go as far as is comfortable with a gentle stretch.
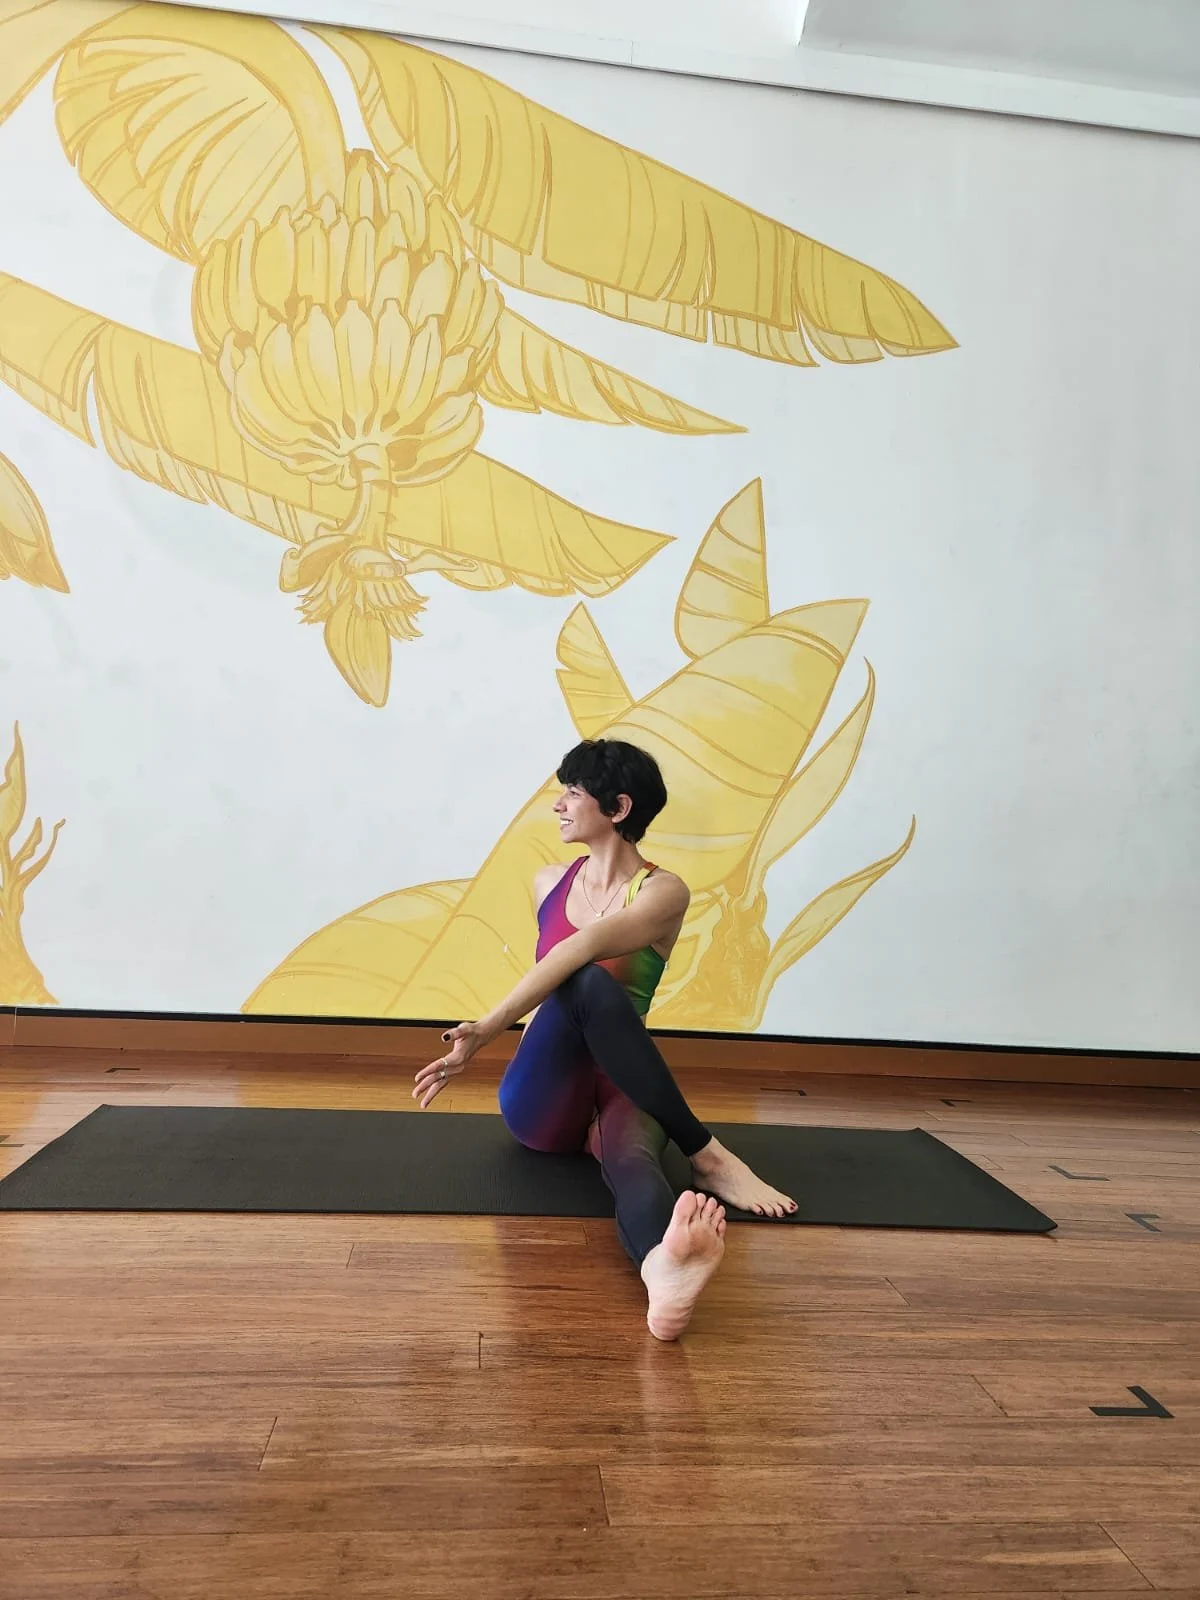
Why it works: Gentle twisting decompresses the spine and improves rotational mobility, helping to lubricate the spinal discs. Be careful not to over-do it, twist only as far as your body allows without forcing.

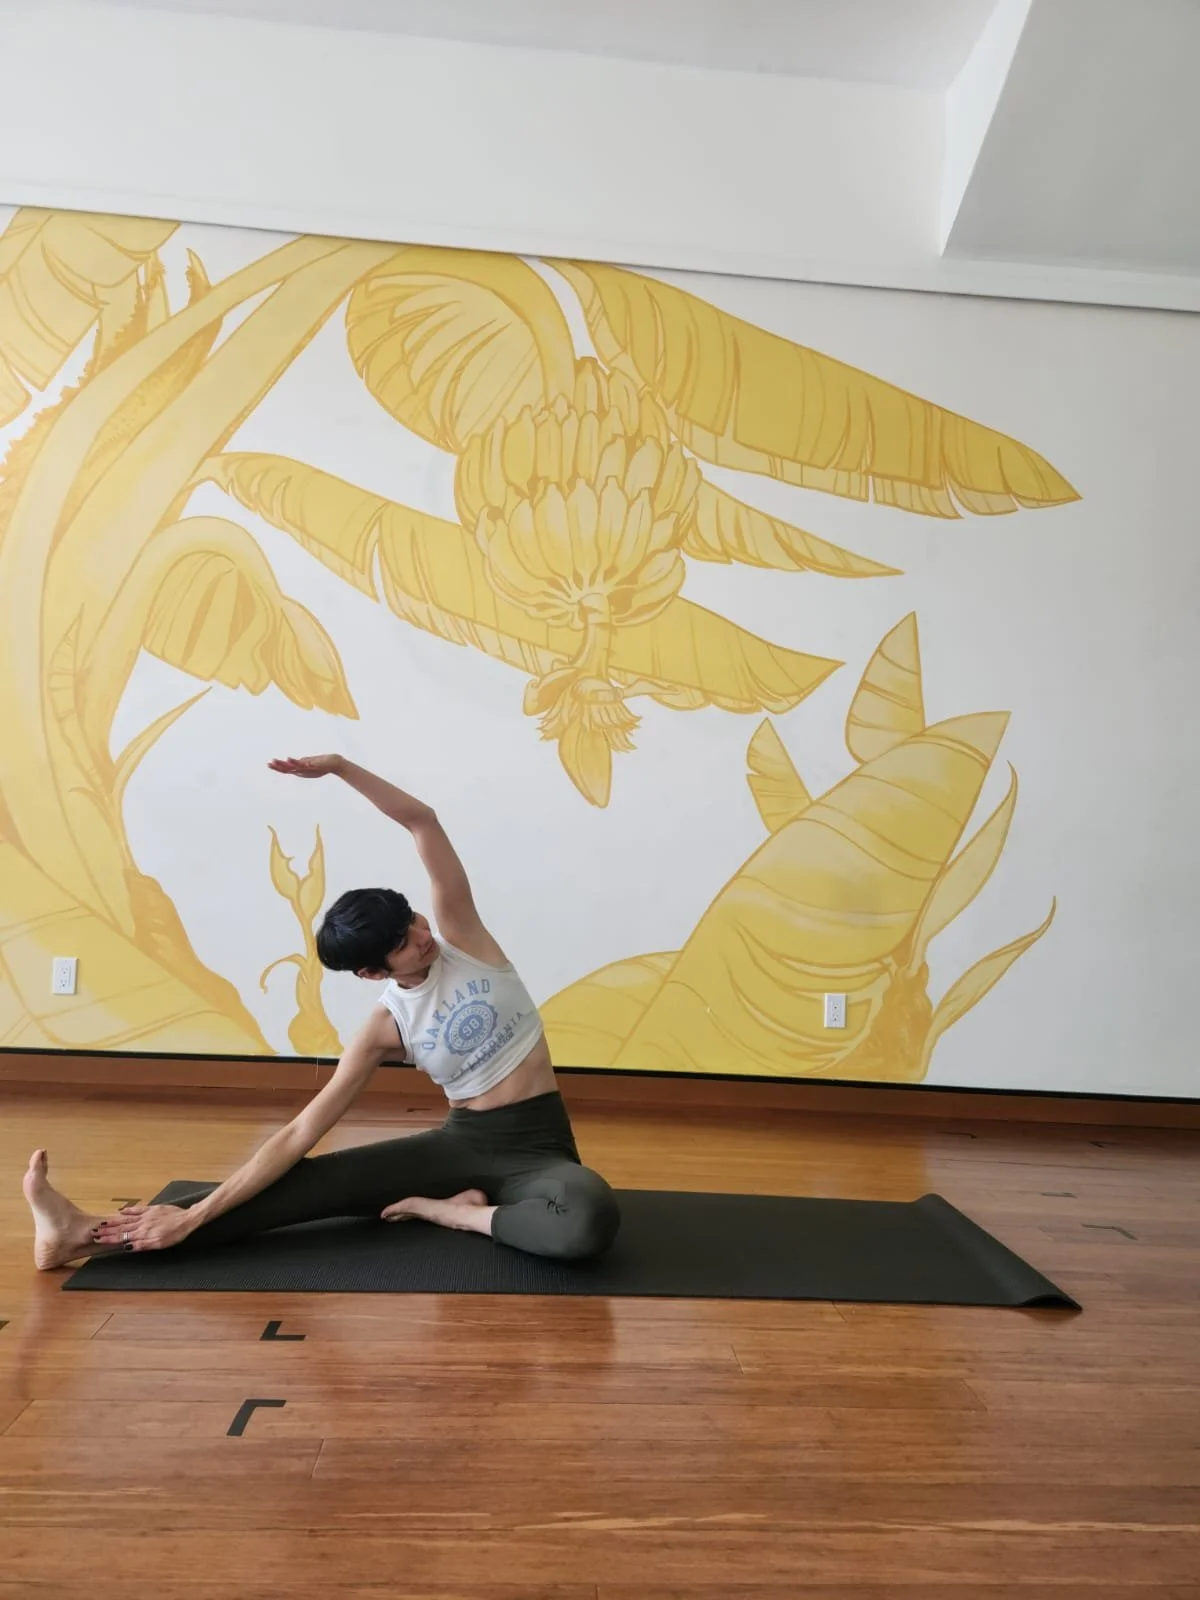
7. Parivrtta Janu Sirsasana (Revolved Head-to-Knee Pose)
How to do it: Sit tall with both legs extended, then open your legs wide into a "V" shape. Bend your left knee and bring your left heel in toward your groin. Reach your right hand down and rest your forearm or hand inside your right leg.
Lift your left arm up, and as you exhale, lean sideways over your right leg, opening your chest toward the sky as you reach your left hand toward your right toes. Hold for 1–2 minutes, then switch sides.
Why it works: Unlike a traditional forward fold, this revolved variation adds a deep side-body stretch and a gentle twist. It targets the quadratus lumborum (a deep lower back muscle) and the intercostal muscles between the ribs, which helps relieve the tight, lateral compression that often triggers lower back spasms and poor posture.
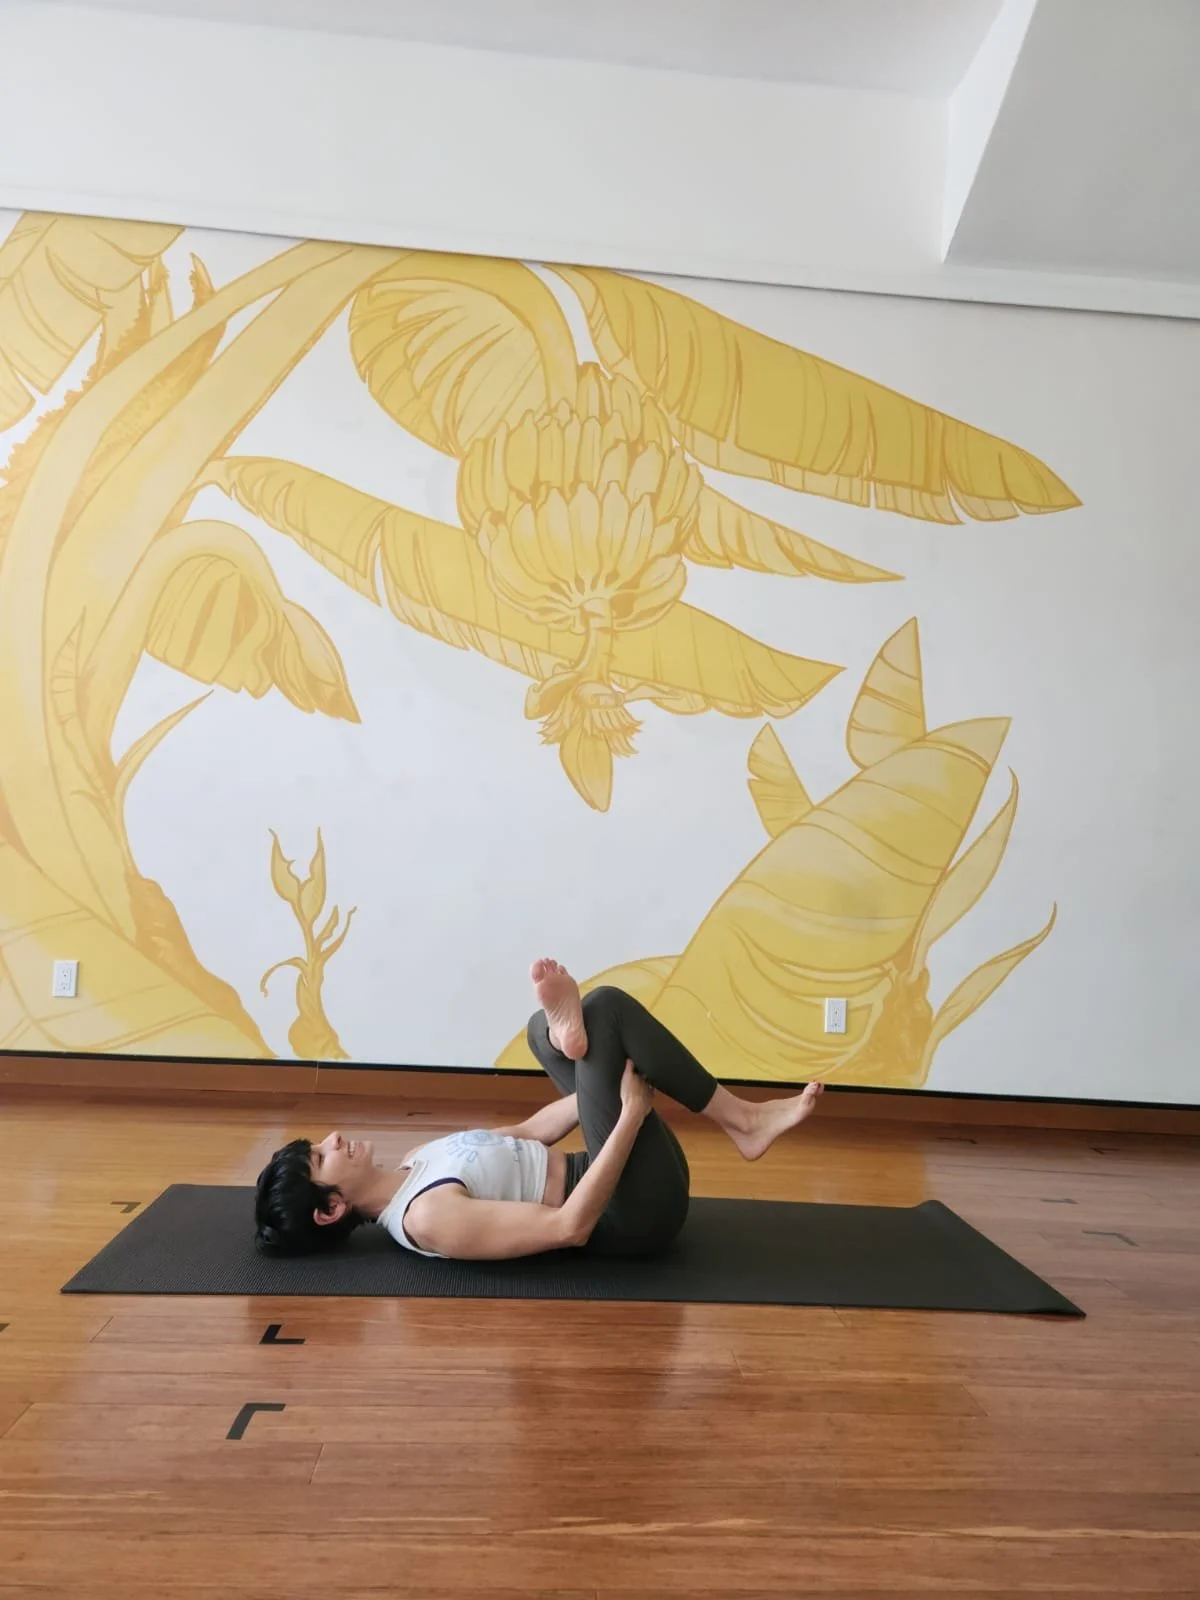
8. Figure Four Stretch
How to do it: Lie on your back with your knees bent. Cross your right ankle over your left thigh, just above the knee.
If feel the need for a deeper stretch, lace your hands behind your left hamstring and gently pull your legs in toward your chest. 1-2 minutes on each side
Why it works: This stretch targets the outer hips and deep glutes (like the piriformis).
When these are tight, they lock up the pelvis and radiate pain right into the lower back.
9. Reclined Butterfly
How to do it: Lie down on your back, bring the soles of your feet together, and let your knees naturally fall open to the sides like the pages of a book. 1-2 minutes
Optional Props: Bolster to lie on, blocks, blankets or pillows to support the knees.
Why it works: A gentle, gravity-assisted opener for the inner thighs and groin, which helps release tension in the pelvic bowl and lower stomach.
If you are dealing with chronic pain, please try not to be mean to yourself. Your body is doing the best it can.
Give yourself the space to use extra props—like blocks, straps, and bolsters—and know that progress takes time and consistency. Healing isn’t about pushing through the pain; it’s about listening to the whispers of your body before they turn into shouts.